A kitchen faucet with a sprayer is convenient to use. Cleaning ingredients and only the corner of the sink is easy by moving the sprayer. But sometimes it becomes defective or out of order after being used for a long time. Many people seek the help of a plumber to fix or replace it. You will be glad to know that replacing a kitchen faucet with a sprayer is easy if you follow some steps. You can replace your kitchen faucet sprayer without seeking help from others. This article will explore how to replace kitchen faucets with sprayers.
Overview 🔰
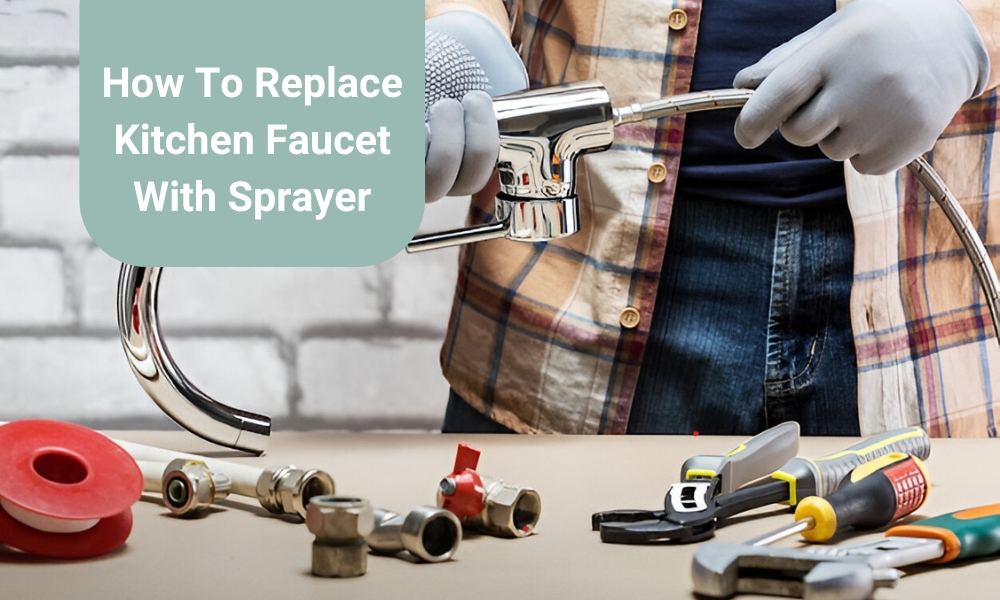
Required Tools
You must arrange some tools to replace the kitchen faucet with a sprayer. These tools will help you from removing the old faucet to installing a new one. A list of some tools is here:
Basin wrench
Pliers
Plumbers putty
New sink sprayer.
Guidelines for Replacing Kitchen Faucet Sprayer
If you have some required tools and energy to go through the following steps, you can replace your kitchen faucet sprayer. It will add a new experience and skill to your life. The necessary steps are discussed below
1. Turn Off the Water Supply
First, you need to turn off the Water on the faucet. There is usually a water shut-off valve under the kitchen sink. Turn off the water supply from the valve below the sink.
2. Remove Extra Water from the Faucet
The faucet may contain some water. Turn on the faucet and remove the Water. Then turn off the faucet.
3. Remove the Sprayer
Remove the sprayer flex line from the faucet body below the sink. There may be a copper tube with a brass nipple at the bottom of the faucet body. The sprayer is connected to the hose. Now, grasp the brush connection with pliers. Loosen the nut on the hose connector with another pair of pliers. Next, you need to disconnect the hose from the faucet. Now, you need to pull the sprayer hose out of the sink.
Take this sprayer hose to a hardware store. Then, buy a new sprayer head and hose matching its size and shape
4. Remove the Old Sprayer Housing
Remove your kitchen’s old sprayer housing if you feel it is necessary. You need to use a pair of pliers or a basin wrench for this. You will need to remove the mounting nut from the under of the sink with a pair of pliers or a basin wrench. Hold the body of the housing with one hand and loosen the nut with the other hand. This way, you will remove the old sprayer housing.
5. Attach New Sprayer Housing
Now attach the new sprayer housing. You must insert the tailpiece through the hole in the sink deck to attach the new sprayer housing. There is usually a gasket around the base of the housing. If you can’t see the gasket, use a plumber’s putty under the base to seal it.
6. Tighten Mounting Nut
After installing the housing sprayer, you need to tighten the mounting nut under the sink. Take a basin wrench or channel-type plier and tighten the mounting nut from the bottom of the sink to the sprayer housing tailpiece.
7. Place New Sprayer Hose
Thread the sprayer hose through the housing. Now, it is prepared for connection. While attaching, ensure it is in the correct position and can be stretched at your convenience and need.
8. Connect the Sprayer Hose and Faucet Body
Now, it’s time to connect the sprayer and the faucet body. You need to connect the threaded fitting from the bottom of the sink on the end of the sprayer hose to the extended diverter nipple of the faucet body. Hold the fitting firmly with a plier. Then, tighten the mounting nut of the hose with another plier. Thus, the hose must be securely connected to the faucet.
9. Turn the Water On and Check the Sprayer
Turn off the water supply after properly connecting the sprayer hose and faucet. Now turn on the water tap and check if there is any leakage. You turn the sprayer up and down to see if it moves quickly. You can run hot Water through the sprayer to soften the tube.
Instructions for cleaning the Kitchen Sink Sprayer
Cleaning a kitchen faucet sprayer properly when needed is essential. That’s why we have brought some tips for cleaning the kitchen faucet sprayer here:
Take a Bowl of Water: First, you must take a bowl and fill it with Water.
Fill a Bowl with Vinegar. Now, take another bowl and pour some vinegar solution in it.
Pull the Sprayer Out: Try to pull the sprayer out as far as possible.
Clean the Hose with Vinegar: Take a cloth and soak it in the vinegar solution. Now, you must wipe the hose with a cloth to remove dirt.
Clean the Hose with Water: After cleaning the hose with vinegar, take another cloth. Dip the fabric into Water. Then, wipe the hose with this wet cloth to remove debris and vinegar solution.
Clean the Nozzle: Follow the same process to clean the nozzle. Soak the cloth in the vinegar solution and wipe the nozzle with it. If needed, dip the nozzle in the vinegar solution for some time. Then, carefully remove another cloth, soak it in Water, and wipe the nozzle.
Dry the Hose: Now, dry the hose with a dry cloth. After drying it, place it in its specific position.
Run Hot Water: You must run hot Water through the sprayer to remove any remaining dirt or vinegar solution attached to the holes.